Dongyu Insights
Custom PU Banana Squishy Design: Curve, Stem and Color Approval
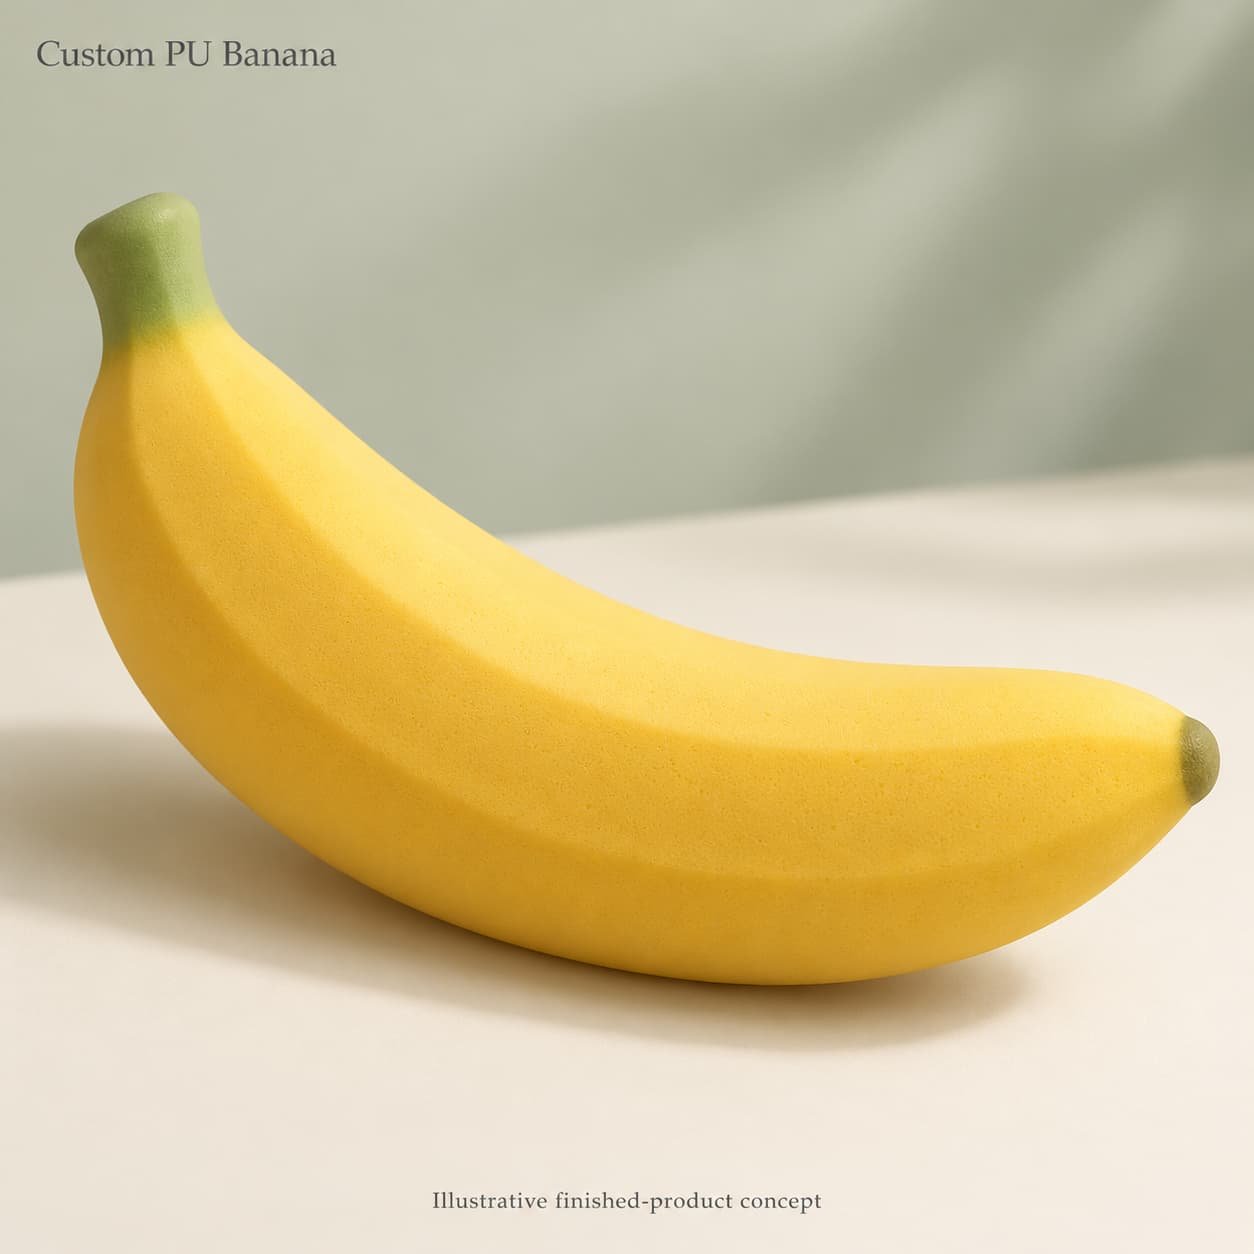
A custom PU banana squishy needs more than a yellow rendering and a target length. A small change in the curve can alter its shelf silhouette, a thin stem can become the weakest handling point, and a misplaced green transition can make an approved shape look like a different product. For wholesale buyers, the useful design deliverable is a controlled specification that connects the drawing, physical sample and package.
This guide develops one closed, whole-banana concept in PU foam. It does not compare materials or propose a peelable construction. Use the worksheets below as a project approval method, not as an industrial standard. All four illustrations are AI-generated concepts; none is a completed sample, engineering CAD file or verified production result.
Define the banana project before requesting a quotation
Banana-shaped squeeze toys appear in several commercial constructions. A photograph alone does not identify the material, filling or recovery behavior. For this project, write “PU foam, closed banana form” in the brief and ask the supplier to confirm the proposed formulation, construction and finish. Do not transfer specifications from another seller’s listing.
Public banana-category listings on Faire include products carrying Bestseller labels. These are category-level merchandising signals, not evidence that this PU concept will sell, or that every banana toy shares its construction. A separate manufacturer listing for a PU foam banana establishes a commercial material direction, not Dongyu’s specifications.
Use an original outline and color treatment rather than reproducing a branded product. Dongyu’s fruit squishy collection provides category context; the availability of a particular banana mold, material recipe and customization route must still be confirmed.
A reusable design brief
| Brief field | What the buyer supplies | What remains to confirm |
|---|---|---|
| Product identity | Project code BAN-01; whole closed banana; no face, opening or detachable cap | Supplier’s feasible construction and tooling route |
| Material and feel | PU foam direction; reference hand feel; desired recovery character | Formulation, skin/coating system and agreed evaluation method |
| Geometry | Preferred overall envelope and curve profile with units | Feasible stem section, root transition and dimensional tolerances |
| Appearance | Yellow body, muted green stem transition, small olive end zone | Physical color references and achievable finish variation |
| Branding | Package branding first; optional product mark supplied separately | Usable print area, method and sample performance |
| Sales program | Target market, intended users, channel, quantity by color and pack format | Applicable requirements, documentation, quotation and schedule |
Keep desired values separate from confirmed values. An empty tolerance cell means “awaiting agreement,” not “no tolerance required.” Request quotation assumptions explicitly, including whether the proposal adapts an available form or requires new tooling.
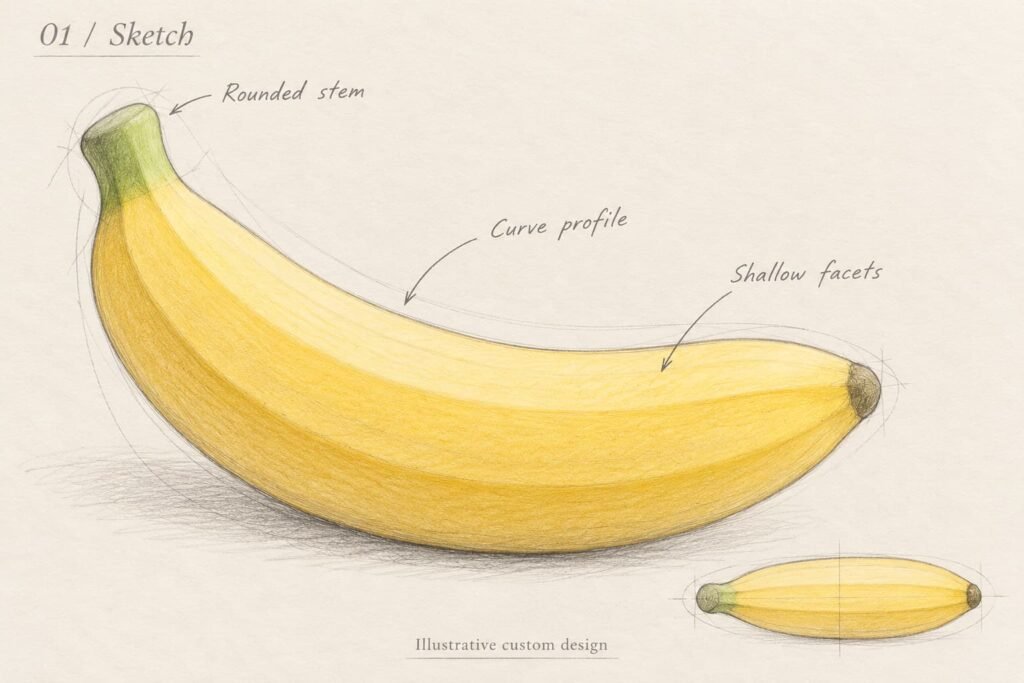
Stage 1: Sketch the curve and two ends
Start with the side silhouette. Draw a broad, continuous body with a gentle bend, a short rounded stem and a rounded blossom end. Keep the first sketch simple enough that reviewers can identify these features without shading. Mark the intended display orientation and the area normally held or squeezed.
A banana’s most important shape decision is often the space inside its curve. An elongated, shallow arc and a tight crescent can have the same overall length but different body volume and packaging needs. Choose one approved outline; do not leave several alternatives on the production-facing sheet without identifying the selected revision.
Separate envelope length from curve length
Use L for the straight overall bounding-box length in the nominated side view, B for the full height of that curved silhouette, and T for maximum out-of-plane thickness. Show which end features are included. Do not let one supplier measure along the curved centerline while another measures a straight span and then compare the two as identical sizes.
If the bend itself needs tighter control, add a separate curve-profile overlay or reference stations. Label any centerline arc length differently from L. A photograph with a ruler is useful evidence only when orientation, camera perspective and contact pressure are controlled; do not measure a soft sample while squeezing it.
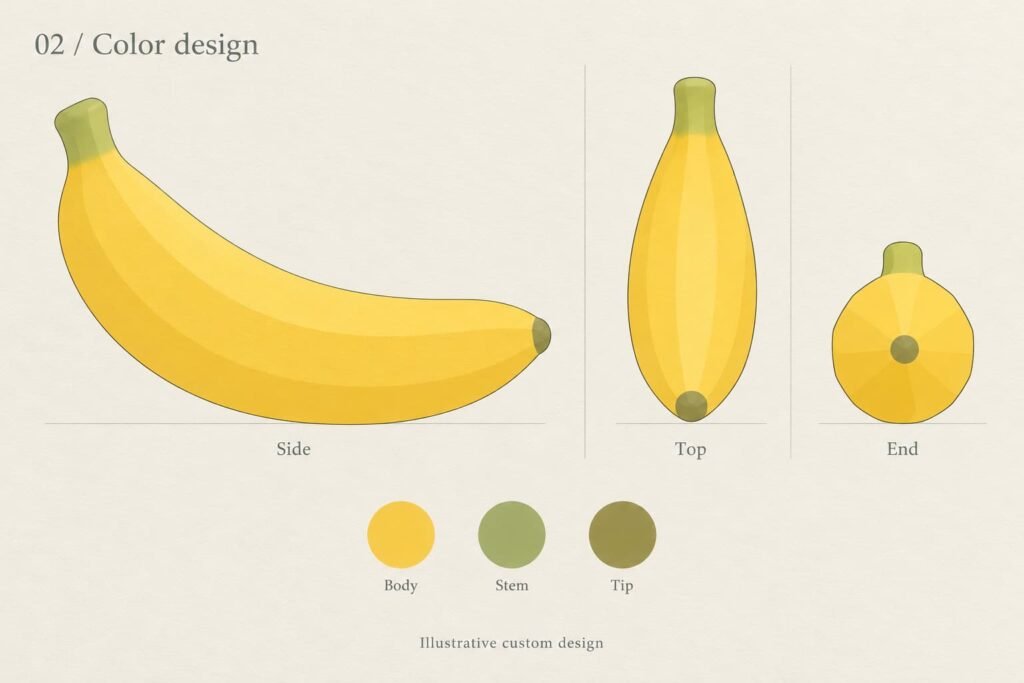
Stage 2: Build a colored three-view design sheet
Carry the selected silhouette into side, top and end views. Name the views on the sheet rather than relying on the word “front,” which can be ambiguous for a curved fruit. Align corresponding landmarks: stem end, stem-to-body shoulder, widest body section and blossom end. The top view should explain thickness and taper, not invent a second curve.
Use a feature register instead of dense arrows
- S1: short stem, blended into the shoulder; no separate cap.
- C1: approved continuous side curve and rounded inner bend.
- R1: shallow longitudinal facets, without deep peel cuts.
- E1: rounded blossom end with a small color zone.
- P1: optional branding area, subject to feasibility review.
These codes belong in the working specification. The public illustrations use fewer notes for readability and are not substitutes for dimensioned supplier drawings. Ask the factory to review stem section, fillet transitions, parting-line location and any finishing access before tooling approval. Do not prescribe universal minimum dimensions from a concept image.
Map colors independently from geometry
Specify the yellow body as one color zone, the green stem transition as another and the small end accent as a third. Indicate where each transition starts and whether its edge is soft or defined. A green patch can suggest a different stem length even when the underlying geometry has not changed.
For gradients, supply an approved physical appearance reference and acceptable variation examples where practical. A screen color code or AI image alone cannot establish a production color tolerance. Keep the main body matte or softly satin as a requested direction, then approve the actual finish on the proposed PU sample.
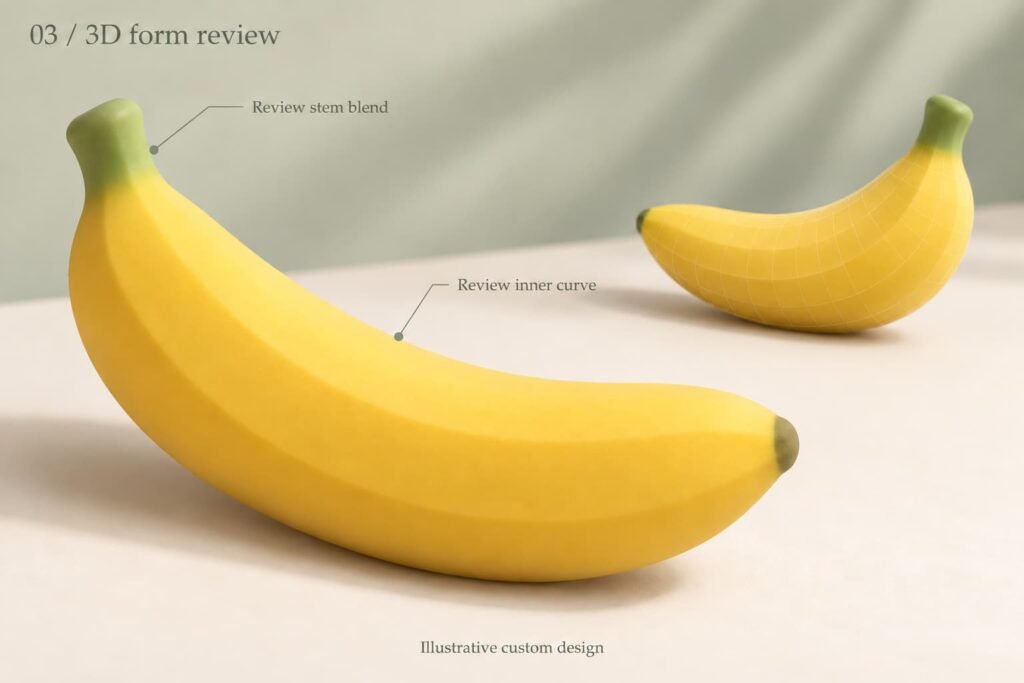
Stage 3: Review the 3D form before treating it as tooling data
A colored 3D concept helps buyers see the stem shoulder, inner bend and thickness together. Review the silhouette from the same nominated views used on the design sheet. Check that the stem has not become longer, the middle has not swollen into a cylinder and the shallow facets have not turned into deep grooves.
Use this review to ask questions, not to certify manufacturability. An AI rendering does not contain verified wall sections, draft analysis, shrinkage compensation or a usable mold surface. Request the supplier’s engineering proposal and identify which files, drawings or physical references actually control tooling.
- Confirm the construction and whether the visible skin is molded, coated or otherwise finished.
- Review the stem root and rounded end for handling durability and finishing feasibility.
- Agree the parting-line and gate/vent evidence to inspect on the sample.
- Confirm the process for reproducing shallow facets and color transitions.
- List any changes needed for molding before approving a revised appearance.
If engineering review changes the silhouette, return that change to the three-view sheet. Do not approve a tooling change in an email while leaving the older artwork marked “final.”
Keep one revision chain from artwork to sample
Use a common project identifier with separate document types, for example BAN-01-SK-R01 for sketch, BAN-01-DES-R02 for design and BAN-01-SAM-R01 for the first sample record. Maintain a release index that states which design revision each sample represents. Sample R01 does not automatically mean design R01.
A useful change entry names the feature, reason, affected documents and decision owner: “S1 stem shortened after feasibility review; update side/top views, 3D concept and pack cavity; physical sample required.” Attach the superseded revision as history, but clearly mark it withdrawn from production use.
Use four decision states: concept selected, engineering reviewed, sample approved and production release authorized. Approval of a colored rendering should never silently authorize bulk production. Record dates, approvers and open issues for each gate.
Approve a physical sample with a banana-specific matrix
Ask the supplier to propose practical methods, conditions and acceptance limits before testing. The table below is a planning matrix, not a laboratory protocol or claim that the concept has passed. Link it to your broader custom squishy sample approval checklist.
| Review item | Comparison or evidence | Release decision to record |
|---|---|---|
| Curve and envelope | Relaxed sample in the nominated views; approved outline; agreed measurement method | L/B/T results and accepted profile variation |
| Stem and shoulder | Close views plus handling evaluation under agreed conditions | No unacceptable damage; criteria and method recorded |
| Color-zone placement | Body, stem transition and end zone beside the appearance reference | Accepted boundary variation and physical color reference |
| Feel and recovery | Proposed compression, release and observation procedure | Agreed conditions, results and acceptable range |
| Skin and optional mark | Surface before and after agreed handling; logo if included | Accepted appearance, adhesion or marking performance |
| Pack interaction | Unpack after agreed packed-storage or transport evaluation | Curve recovery, no unacceptable rubbing or color transfer |
Separate functional acceptance from cosmetic variation. A slightly different gradient may be negotiable; a stem failure is a different issue and must not be waived through a general “looks good” comment. Keep photographs of nonconformities with sample IDs, not untraceable screenshots.
Design the package around the approved curve
A rectangular pack dimension should come from the finished sample’s envelope and the chosen protection method, not from its curved centerline. Review whether the pack forces the body straight or presses the stem against an edge. Validate any tray, bag or insert with the actual sample and agreed packed conditions.
For private label banana squishy packaging, reserve readable space for the brand and required market information. If a product logo is requested, show its proposed location on the body and confirm feasibility on a marked sample. Move complex branding to the package when the available surface cannot reproduce it reliably; see the product branding and private-label packaging guide.
Before launch, confirm applicable target-market requirements with the responsible specialists and obtain appropriate product-specific documentation. A food-like appearance, a sample approval or a marketing phrase is not proof of safety or compliance.
Frequently asked questions
Can a supplier quote a custom PU banana squishy from a sketch?
A sketch can support an initial discussion if it includes size, material direction, quantities and packaging. Ask which assumptions remain provisional. Engineering review and physical sample approval are separate stages.
Should banana squishy length follow the curved centerline?
Not unless the specification explicitly calls for arc length. Define straight envelope length separately, name the nominated view and retain the same measurement convention throughout quotation and approval.
Can the stem be green without being a separate component?
That is the requested appearance in this concept: a green color zone on a continuous form. The supplier must confirm the actual construction and finishing route; a render cannot prove either.
Does PU foam guarantee a particular recovery time?
No. Agree the desired feel, formulation proposal and evaluation conditions with the supplier. Do not copy a time from another listing or approve recovery from a still image.
Can these illustrations be sent directly for mold making?
Use them to communicate appearance intent only. Tooling requires the supplier’s confirmed engineering information and a clear release decision, not an AI image labeled as CAD.
Send a complete banana squishy development brief
For a custom PU banana squishy inquiry, send your selected outline, L/B/T convention, color-zone map, reference hand feel, quantities by variant, target market and package direction. Identify what is fixed and what Dongyu should propose. Review Dongyu’s customization service, then request a project review with the current revision index. Ask for confirmed engineering parameters and a physical approval sample before authorizing production.